






For hardware processing and plastic mold manufacturers, ready-made downloaded 3D files cannot always match customized sampling demands perfectly. Most factory designers wonder how to make your own 3D printer files tailored for unique mold cavities and custom hardware jigs. Making exclusive 3D files guarantees precise sample size, fits personalized production needs and avoids defects caused by mismatched public model files.
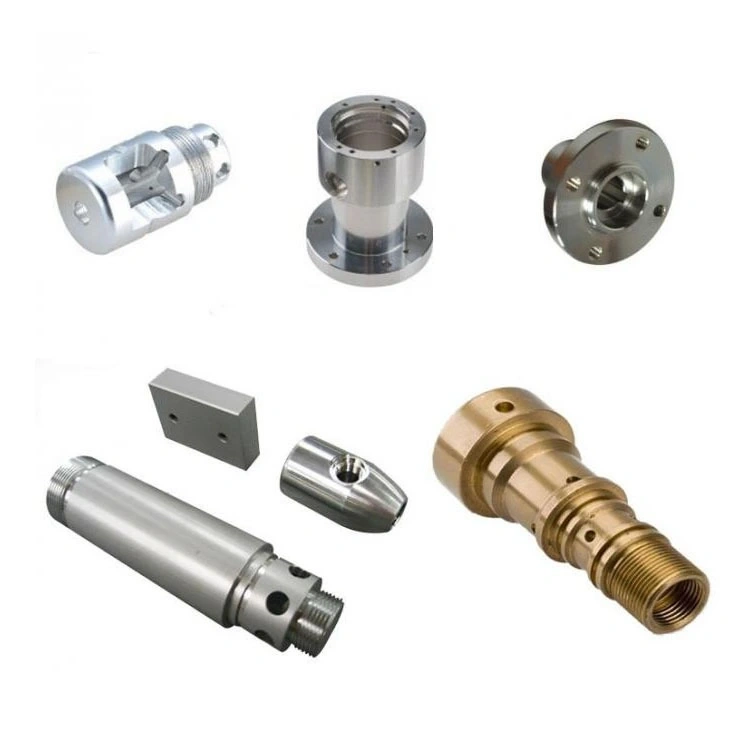
1. Basic Preparation Before Making 3D Printer Files
Before learning how to make your own 3D printer files, sufficient preparation ensures smooth modeling for industrial samples.
1.1 Confirm Exact Product Dimensions
Measure detailed size data of plastic mold parts and hardware accessories, including wall thickness, groove depth and assembly tolerance. Clear dimensional standards prevent repeated file modification and save prototype printing time.
1.2 Select Professional Design Software
Choose industry-standard CAD tools for industrial modeling. SolidWorks and UG fit complex plastic mold structures, while Fusion 360 works well for simple hardware fixture designs. These software support seamless export of standard 3D printing formats.
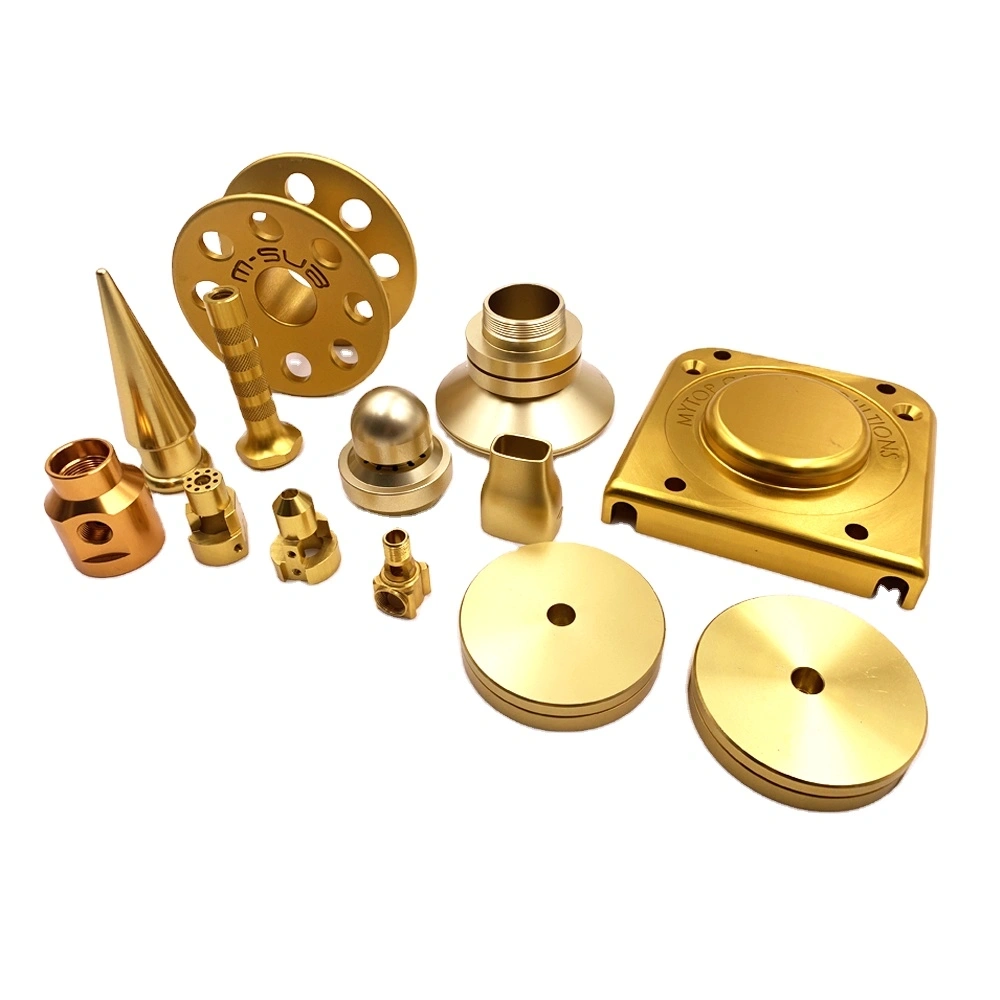
2. Core Steps: How to Make Your Own 3D Printer Files
Follow standardized design workflows to master how to make your own 3D printer files for qualified industrial rapid samples.
2.1 Build Accurate 3D Structural Models
Start modeling based on confirmed drawings. Complete overall outlines first, then add fine details such as mounting holes, curved surfaces and deep grooves. For thin-wall mold parts, keep reasonable wall thickness to avoid printing collapse during sample production.
2.2 Optimize Models and Export Standard Files
Fix overlapping surfaces, broken edges and unreasonable structures inside models. After full inspection, export files in universal STL format, the most compatible file type for all mainstream 3D printers and slicing software.
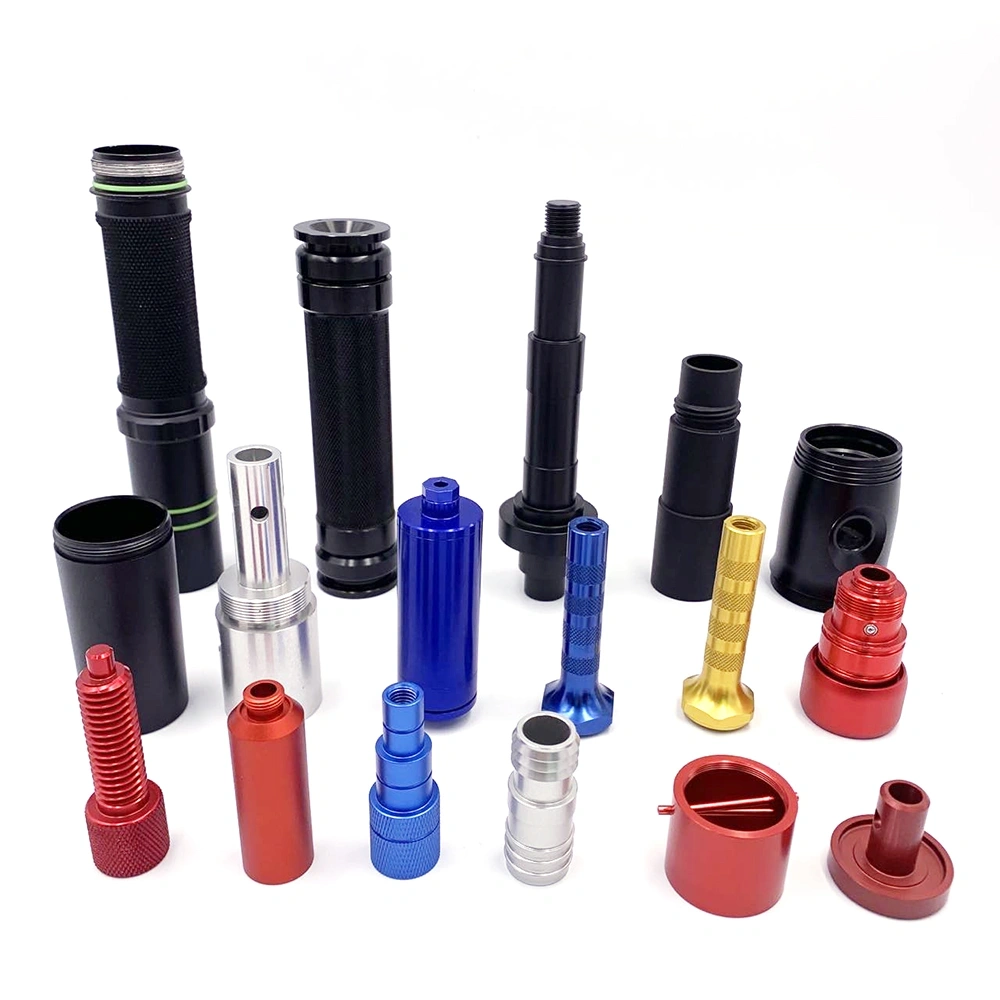
3. Post-File Optimization for Smooth Printing
Final file optimization is a necessary step after you learn how to make your own 3D printer files.
3.1 Repair Tiny Model Defects
Import self-made STL files into slicing software to detect hidden errors. Minor structural flaws can be fixed with one-click repair tools, ensuring no layer shifting or printing interruption during sample manufacturing.
3.2 Match Printing Parameters
Set targeted slicing parameters according to self-designed models. Add reasonable support structures for intricate mold parts, and adjust filling density for hardware prototypes to balance sample strength and printing speed.
In short, mastering how to make your own 3D printer files enables factories to create fully customized prototypes. It solves the limitation of public model files, improves the accuracy of mold and hardware rapid samples, and greatly boosts overall product development efficiency.